FreeTrack Forum
FreeTrack Forum > FreeTrack : English Forum > Support : Tracking System > Your point model constructions
| loco11c | #136 11/06/2010 - 04h39 |
|
Class : Apprenti Off line |
Hi, Thanks for posting those pictures. I'm having trouble finding the "page 13 manual "doc_led". I really like your design, and would like to copy it. If that's ok? Could you post more pics or even a tutorial of how you designed and built it? However if it cost 30 US dollars for the materials, I'd just as soon purchase a TrackClip Pro already built and not have the hassle:) Thanks again! L |
| lukinhasb | #137 15/06/2010 - 22h18 |
|
Class : Apprenti Off line |
Kkkkkkkkkkkkkkkkkkkkkkkk |
| gguyaz | #138 07/08/2010 - 14h41 |
|
Class : Apprenti Off line |
OMG! I LOVE IT  |
| gguyaz | #139 07/08/2010 - 14h55 |
|
Class : Apprenti Off line |
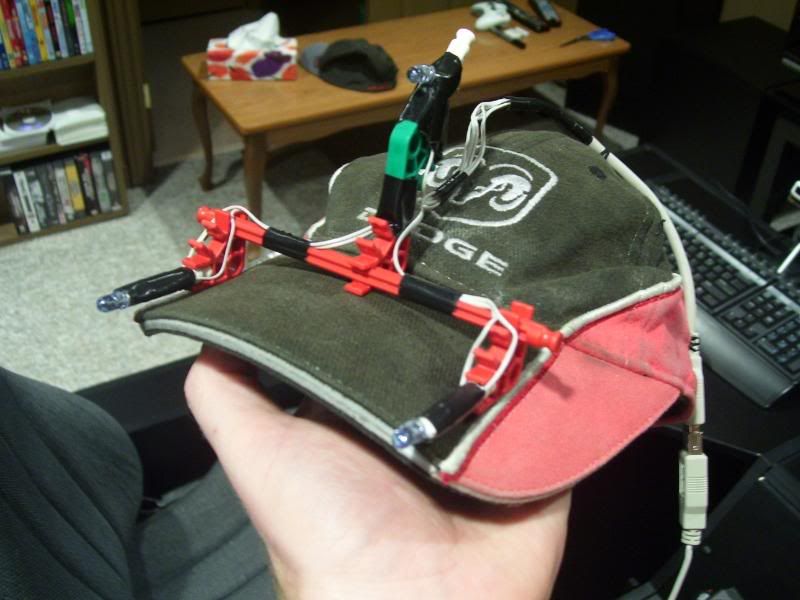
Here is mine for caps,
  No more SFH485P (no more in stock available), but these one seems very powerful (see listing under) IR --> 375mW/sr @ 250mA.I use USB cable connected to a box with 4 AA battery with USB connector. ..I then used WiiMote system for FPS   Wiimote is used and mounted on the wall with its battery charger with unlimited power supply on my Wiimote. Material: (Conrad is online reseller) - 1x cintre métallique (nearest Laundry  ) )- 1x Wii Remote Twin Charger SL-3403-SWT (eBay, Ricardo.ch, etc) - 1x Conrad BT USB Stick Micro (Bluesoleil v5.4.277.0) n°971999-62 (Conrad) - 3x Trimmer 1W 50 ohms n°425036-62 (Conrad) - 1x Boîtier support 4 piles AA USB n°079694-62 (Conrad) - 2x 1m câble AWG 0.25mm2 noir et rouge - 3x OSRAM SFH487P n°631312 (Distrelec) ..and so many tools....
Edited by gguyaz on 23/08/2010 at 17h20.
|
| maiconcrespo | #140 22/08/2010 - 18h07 |
|
Class : Apprenti Off line |
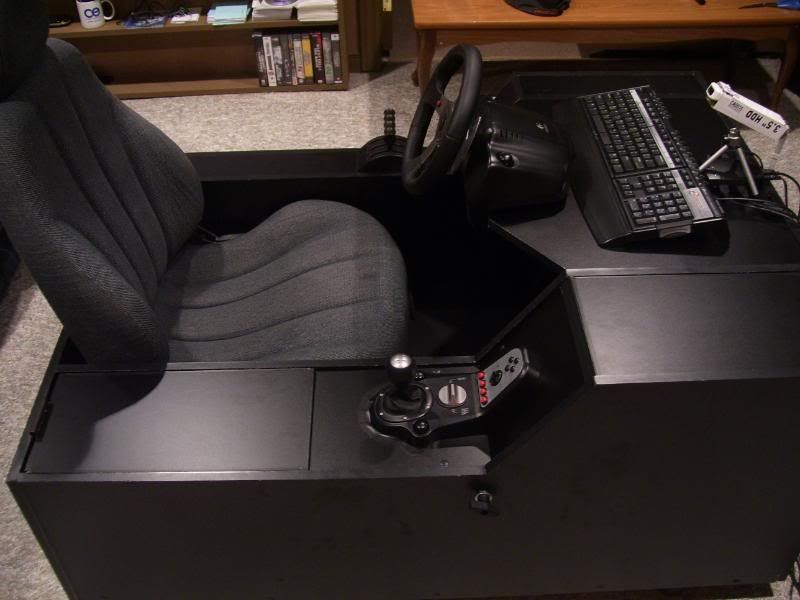
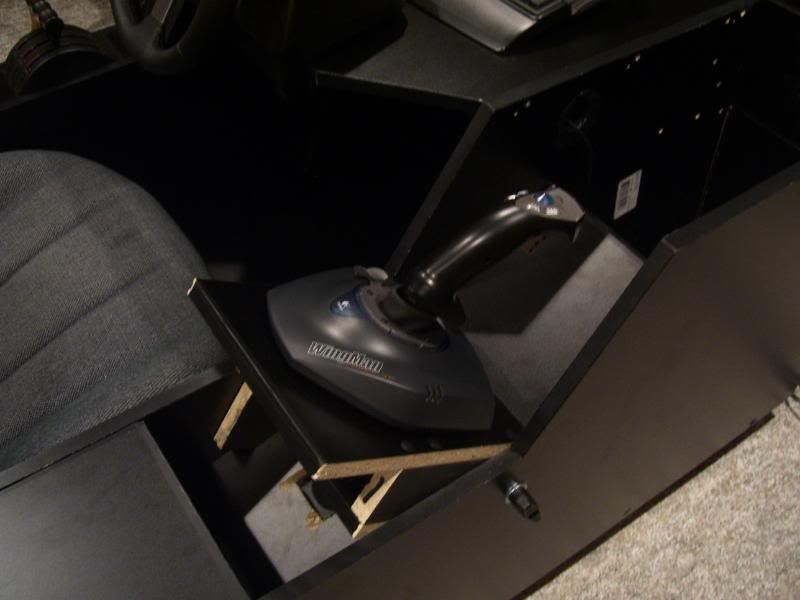
Here is my freetrack ...design.....with USB conection... i think what i can place some conection for use batery too. 3V litium.
 If can't see click here http://picasaweb.google.com/maiconviniciuscrespo/XSIMYFREETRACK#
Edited by maiconcrespo on 22/08/2010 at 22h22.
|
| spaceinvader | #141 02/09/2010 - 13h28 |
|
Class : Apprenti Off line Www |
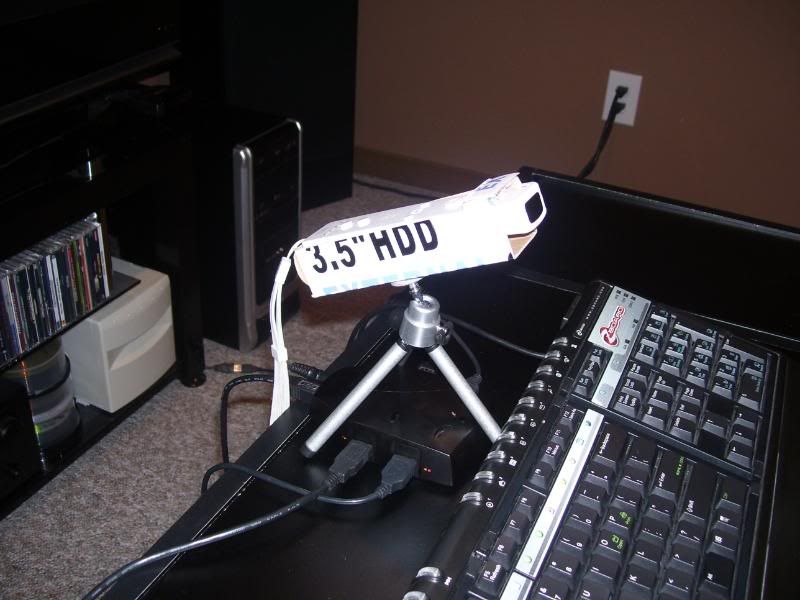
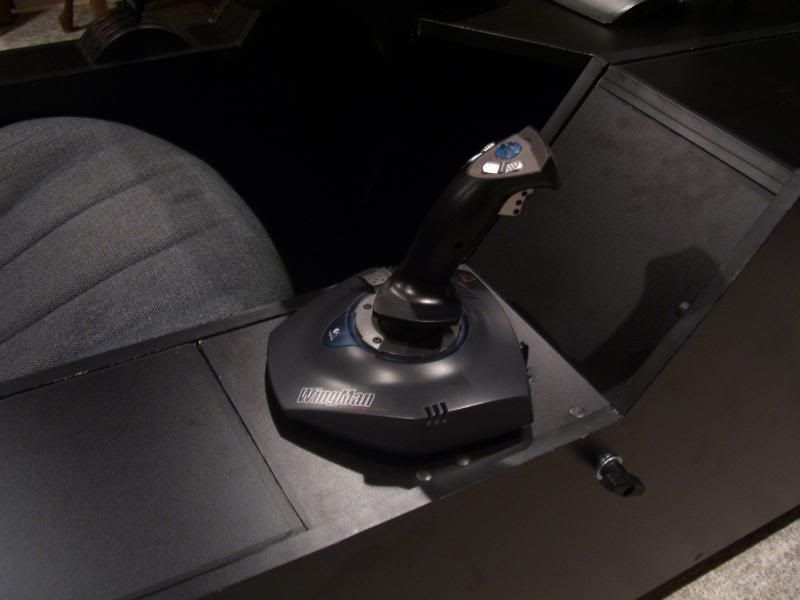
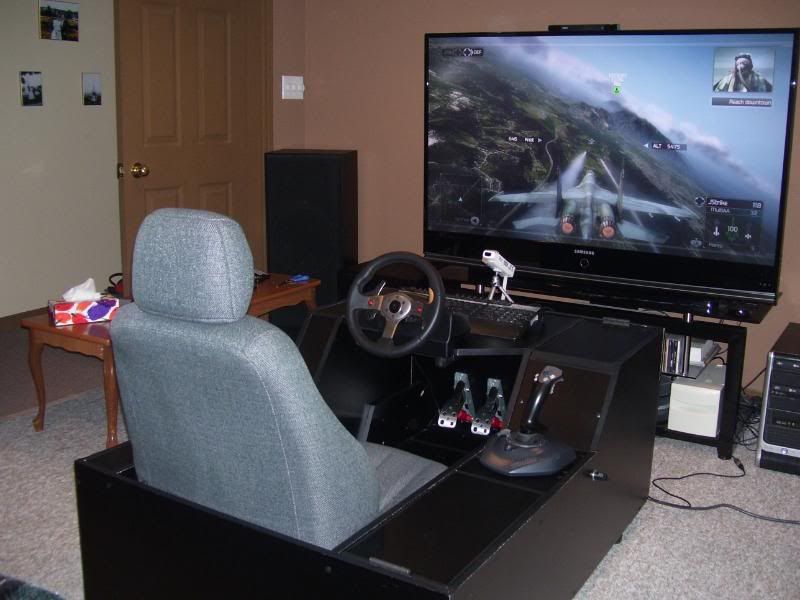
I have not made my 3 point LED cap yet but whilst I am waiting for parts I have been experimenting with how to mount the Wiimote on my TV. Here is my simple solution, hope it is useful to someone!
This just uses a wii remote gun accessory, you can get them from ebay for a couple of pounds/dollars. Then i used a small cable tie to secure the trigger part of the gun to the TVs cooling vents, 2 would be better (little tricky getting the other end of the tie out). The weight of the wiimote keeps it very steady but a small blob of bluetac under the barrel would make it even better. I may use velcro instead of cable ties ultimately, would be nice to remove the gun when I'm watching a move (things like that bug me). Its also very easy to remove the wiimote from the mount if you need to use in on your wii. If you decide to use this method please send me a PM and let me know how it has worked out for you, thanks    
Edited by spaceinvader on 06/09/2010 at 09h51.
 My setup with pics!: http://myfreetrackheadset.blogspot.com/ My setup with pics!: http://myfreetrackheadset.blogspot.com/ |
| ronnix | #142 10/09/2010 - 19h01 |
|
Class : Apprenti Off line Mail |
There is my wiiholder. Made using CNC router
 |
| Volans | #143 12/09/2010 - 19h38 |
|
Class : Apprenti Off line |
Hi all. Here are some "classical designs".
Newest tracker : 3 point clip,made from double copper plated electric board, usb powered, using common ir leds - sanded to become "wide angle".   Old clip:  3 point cap 9v batteries powered:  3 point cap using only 1.5v to operate the leds, no resistor at all:  Gallery:   ....and I have more old obsolete designs....I like this game! |
| Gquann | #144 27/09/2010 - 21h34 |
|
Class : Apprenti Off line |
Hi everyone, I have designed my own freetrack headset which has no need for batteries or candles. I beleive a few people have done a similar design using reflective tape on a cap or on headphones. I found both these methods to be annoying to use. The cap makes you're head all sweaty and the headphones make you're ears sweaty too.
My design is a headpeice made out of tin foil wrapped with insulation tape and the 3 point clip design attached to the side which is made from card with reflective tape on 3 points. I took roughly half hour to make in total and works great. Here are some pictures of the headset. 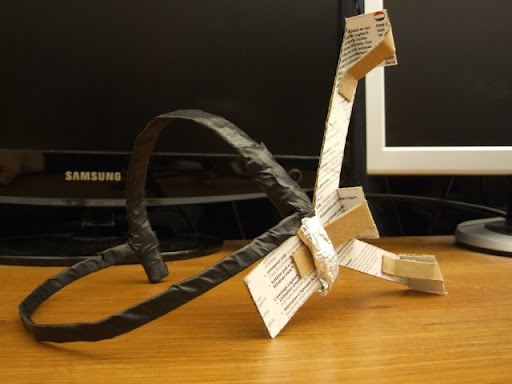 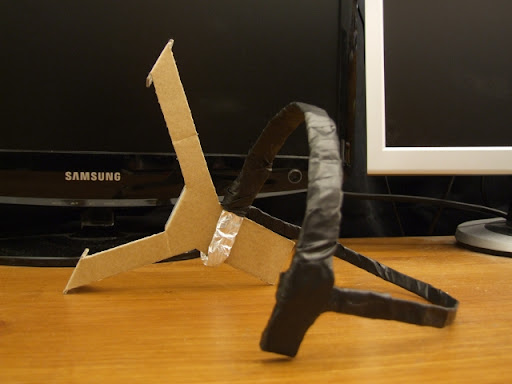 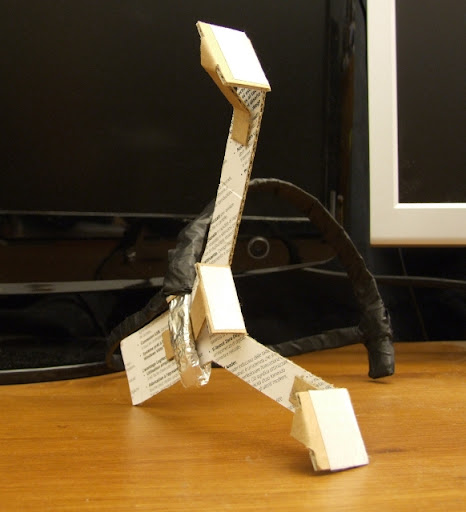 The webcam I use is an A4Tech PK-333MB. It uses 6 ir led's for low light situations but you can use them by covering the sensor so you can use it with lights on. The camera picks up the reflective tape very well so you can turn the brightness and contrast right down and the headset will still be seen. I'm not sure if I've explained sufficiently so any questions then feel free to ask. Have a nice day. 
Edited by Gquann on 27/09/2010 at 21h44.
|
| nekranomakon | #145 12/10/2010 - 02h24 |
|
Class : Apprenti Off line |
here is my build.
my original clip design which i used successfully for quite a while.   i found the l.e.d's were too close together and if i lifted my head too high the bottom l.e.d would cross over the center l.e.d and confuse the software so i built a new one.  the construction is from a 120mm fan grill i used a pair of wire cutters and cut in the necessary position to achieve the desired shape i then cut the top arc slightly shorter than the bottom one.  the l.e.d has been filed down until its almost at the element inside to give optimal exposure to the camera.  here it is attached to my headphones, the attachment is made via a bicycle light clamp which i bought from the local pound shop, no modifications to my headphones was necessary.  a close up.  my wiimote and stand  the wiimotes usb rechargeable battery  as you can see it just slots onto the stand and is constantly charged via the usb cable so no need for battery changes and remains completely standard and usable on the wii still. as its attached to my headphones i decided to use a usb cable and so my clip plugs directly into a usb slot. cost list L.E.D's, Resistors, Solder, and Wire all from ebay for around £10 Wii Remote £29.99 Wii Remote USB rechargeable battery pack from Game £10 USB Bluetooth Dongle from Argos £10 Total Cost around £60 build time around 1 hour 30 minutes due to soldering and testing.
Edited by nekranomakon on 12/10/2010 at 02h41.
|
| tracker | #146 03/11/2010 - 18h28 |
|
Class : Apprenti Off line |
I need to make better clip but this solution works too.
I use 6V DC adaptor and 62,5mA constant current source with LM317T.Edit: Adaptor gives actually 8V.   
Edited by tracker on 04/11/2010 at 18h28.
|
| dewey1 | #147 04/11/2010 - 00h16 |
|
Class : Habitué Off line |
Very nice setup! You beat me to the idea of clip with circuit board as frame with integrated constant current source. This would be the ideal setup from a design and PC USB safety standpoint. |
| tracker | #148 04/11/2010 - 12h19 |
|
Class : Apprenti Off line |
I'm not sure if it will work with 5V. 6V is probably minimum for 3 IR leds. It gives 4,33V on the output.
|
| dewey1 | #149 04/11/2010 - 16h01 |
|
Class : Habitué Off line |
Yes you are correct about the 5 volt input.
I had mistakenly said that about the USB. 6 volts is probably approaching the minimum it will current regulate at. What is the 6V adapter voltage at under actual operating (tracking) load conditions? Glad to see that you incorporated the the constant current method. |
| tracker | #150 04/11/2010 - 18h27 |
|
Class : Apprenti Off line |
Oh, I found out that my adaptor has actually 8V under load. It's cheap china adaptor. Looks like 4,5V gives 6V and current is not good in this case. Still works but not as bright as under higher voltage.
|


FreeTrack Forum > FreeTrack : English Forum > Support : Tracking System > Your point model constructions
> Stats
1 user(s) connected during the last 10 minutes (0 member(s) and 1 guest(s)).
Powered by Connectix Boards 0.8.4 © 2005-2024 (8 queries, 0.063 sec)